Easter Bunny Oreo Balls: Adorable and Tasty Easter Treats
Looking for a treat that’s not only delicious but also adds a whimsical charm to your Easter celebrations? These Easter Bunny Oreo Balls are the perfect choice! They combine the classic Oreo flavor with a playful bunny-themed twist, making them a delight for both kids and adults.

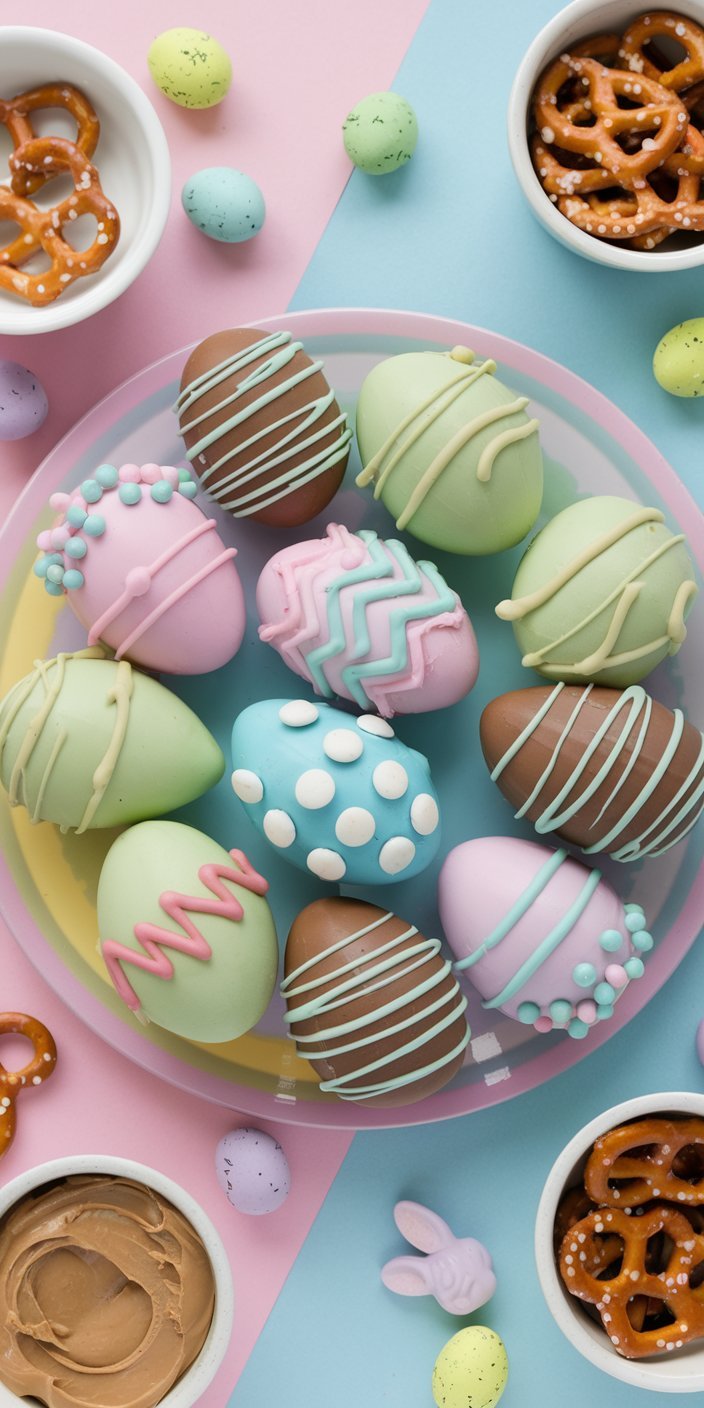
With their creamy Oreo filling, smooth chocolate coating, and bunny decorations, these Oreo balls are as adorable as they are tasty. Plus, they’re easy to make, customizable, and don’t require baking.
Why You’ll Love Easter Bunny Oreo Balls
🐰 Adorable Bunny Design
Decorating these Oreo balls as bunnies adds a touch of whimsy and fun to your Easter treats.
🍫 Classic Oreo Flavor
The creamy Oreo and cream cheese filling is a decadent combination everyone loves.
👩🍳 Easy and Kid-Friendly
A no-bake recipe that’s simple to make and perfect for involving the kids in the kitchen.
🎉 Customizable
Use different colored candy melts, shapes, and designs to create unique bunny balls that suit your style.
Ingredients for Easter Bunny Oreo Balls
- 36 Oreo cookies (classic or any flavor)
- 8 oz cream cheese, softened
- 16 oz white chocolate or candy melts (assorted pastel colors)
- Mini marshmallows or candy for ears
- Edible markers, chocolate chips, or piping gel (for bunny faces)
- Sprinkles or candy for whiskers and noses
Step-by-Step Instructions
1️⃣ Crush the Oreos
Pulse the Oreos in a food processor until fine crumbs form. You can also crush them in a resealable bag with a rolling pin.
2️⃣ Mix with Cream Cheese
Combine the Oreo crumbs and softened cream cheese in a bowl. Mix until smooth and dough-like.
3️⃣ Shape into Balls
Roll the mixture into small balls and slightly flatten the tops to prepare for bunny decorations. Place the balls on a parchment-lined baking sheet and freeze for 20-30 minutes.
4️⃣ Melt the Candy Coating
Melt white chocolate or candy melts in pastel colors as per the package instructions.
5️⃣ Dip and Decorate
Dip the Oreo balls in the melted candy coating, ensuring they’re fully covered. While the coating is still wet:
- Use mini marshmallows or candy for bunny ears.
- Add candy or chocolate chips for eyes and noses.
- Use sprinkles or piping gel to create whiskers.
6️⃣ Let Them Set
Place the decorated balls back on the parchment-lined tray and let them set at room temperature or in the refrigerator.
7️⃣ Serve and Enjoy
Arrange the Easter Bunny Oreo Balls on a colorful platter and watch everyone’s faces light up!
Tips for Perfect Easter Bunny Oreo Balls

🐾 Plan the Bunny Features
Lay out the ears, noses, and whiskers ahead of time for smoother decorating.
🌈 Experiment with Colors
Use a variety of pastel candy melts to create vibrant bunnies.
📦 Store with Care
Store the Oreo balls in an airtight container in the fridge for up to a week or freeze for later.
🧒 Kid-Friendly Activity
Let kids add their creative touches to each bunny ball for a fun family activity.
Easter Bunny Oreo Balls
Ingredients
Method
- Crush Oreo cookies into fine crumbs using a food processor or rolling pin.
- Mix Oreo crumbs and softened cream cheese until smooth.
- Shape into balls and slightly flatten the tops. Freeze for 20-30 minutes.
- Melt candy melts in pastel colors as per package instructions.
- Dip each ball in melted chocolate, then decorate as bunnies with ears, eyes, and whiskers.
- Let set at room temperature or in the refrigerator.
- Serve and enjoy your adorable Easter Bunny Oreo Balls!