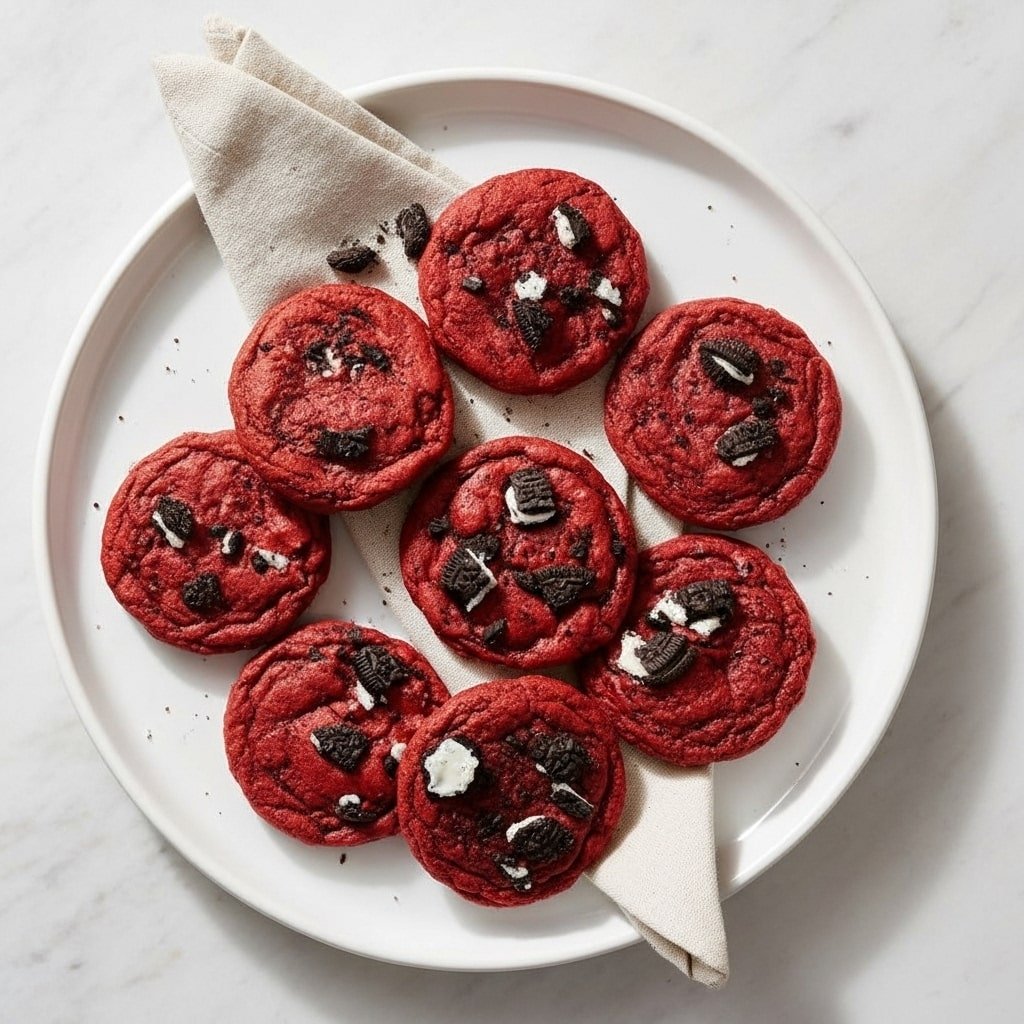
Soft & Chewy Red Velvet Oreo Cookies (Bakery-Style at Home)
Red Velvet Oreo Cookies are one of those treats I make when I want something that feels a little extra but still easy enough for a casual baking day. I love how the deep red color instantly makes them look special, even before the first bite.
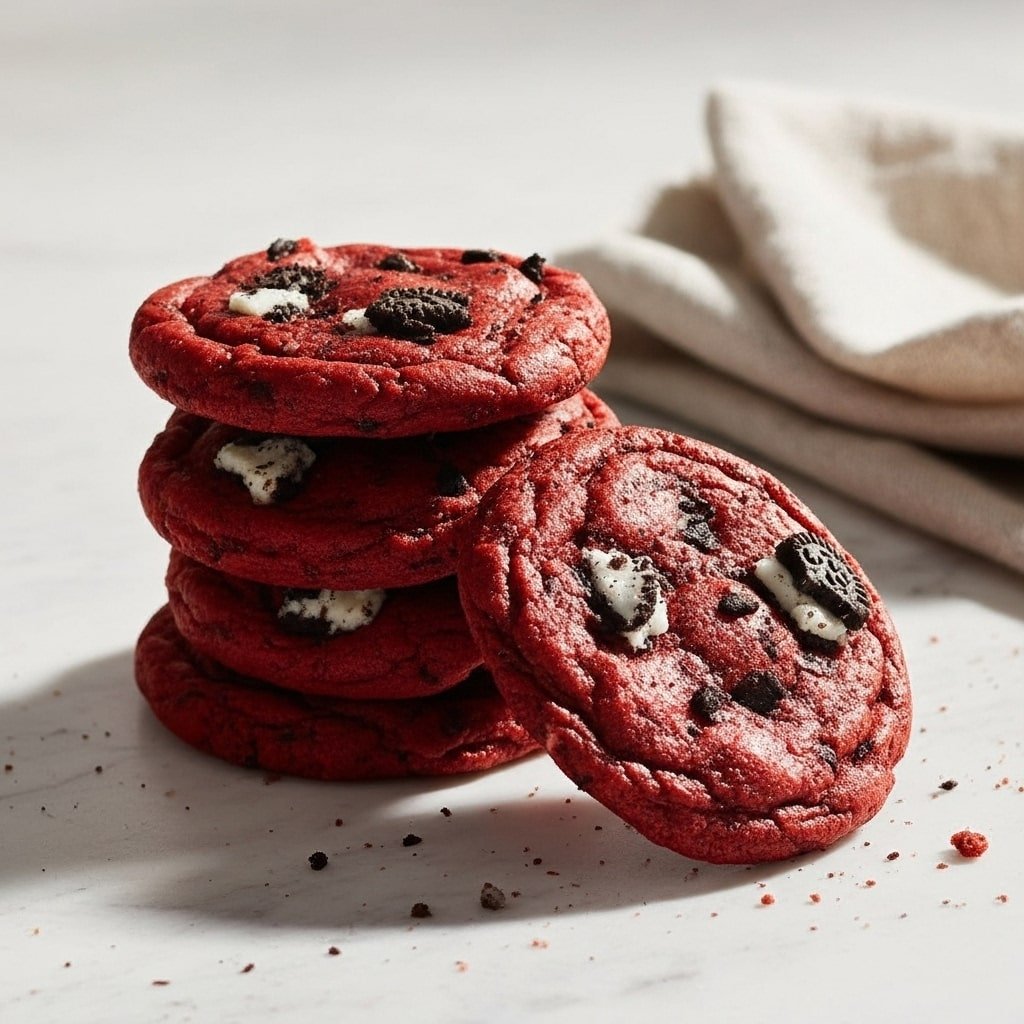
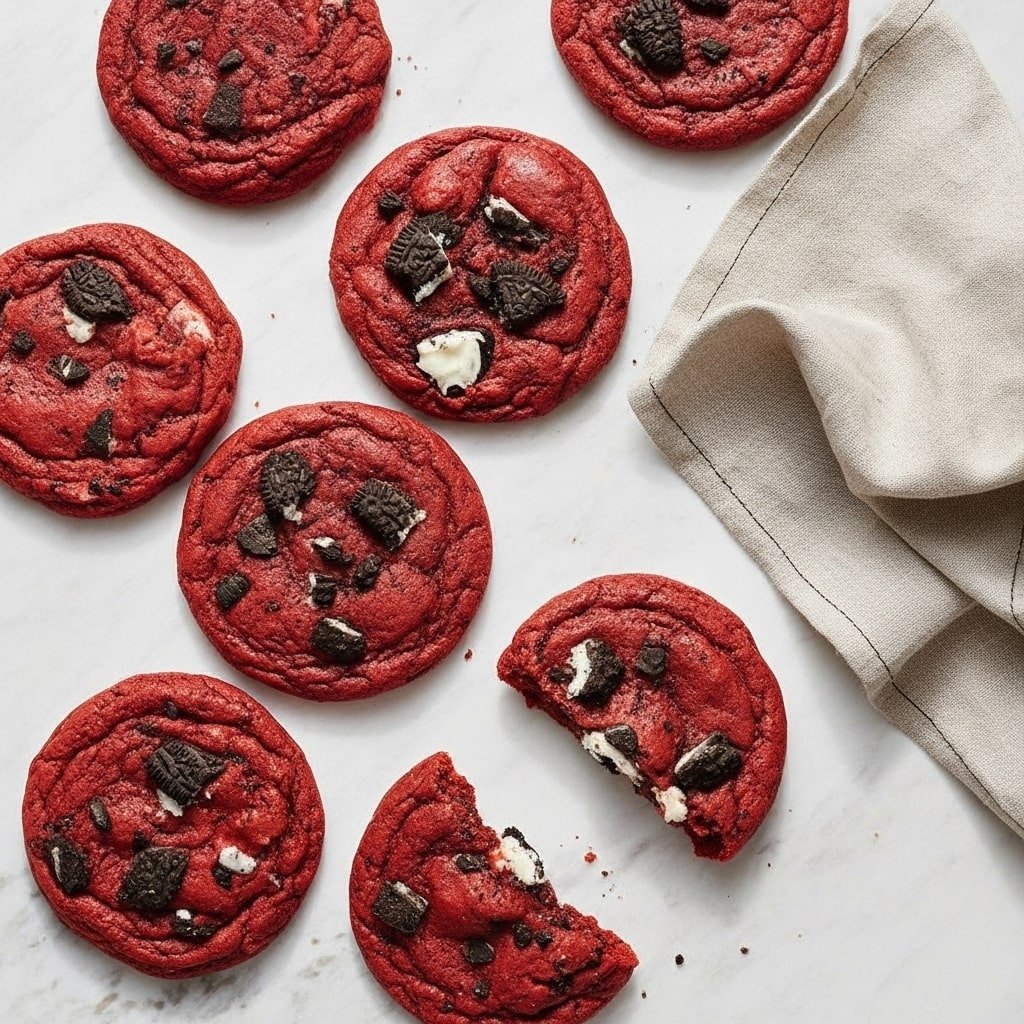
The combination of rich cocoa flavor with crunchy Oreo pieces is honestly hard to beat. Every time I bake these, the kitchen smells incredible, and they never last long once they’re out of the oven. I enjoy making Red Velvet Oreo Cookies for holidays, bake sales, or just when I’m craving a soft, chewy cookie with a bit of crunch.
They feel nostalgic, indulgent, and comforting all at once, which is exactly what a good homemade cookie should be.
Why You’ll Love This Recipe
- Easy to Make: Simple steps and basic baking skills are all you need.
- Rich Chocolate Flavor: Cocoa powder and Oreos create a deep, satisfying taste.
- Soft and Chewy Texture: Perfectly tender centers with lightly crisp edges.
- Simple Ingredients: No fancy or hard-to-find items required.
- Great for Any Occasion: Ideal for holidays, parties, or everyday treats.
Red Velvet Oreo Cookies
Ingredients
Method
- Preheat oven to 350°F (175°C) and line baking sheets with parchment paper.
- Cream butter, granulated sugar, and brown sugar until light and fluffy.
- Add eggs, vanilla extract, and red food coloring; mix until combined.
- In a separate bowl, whisk flour, cocoa powder, baking soda, and salt.
- Gradually add dry ingredients to wet ingredients, mixing just until combined.
- Fold in chopped Oreos gently.
- Scoop dough onto prepared baking sheets, spacing evenly.
- Bake for 10–12 minutes until edges are set.
- Cool slightly before transferring to a wire rack.
Notes
- Store cookies in an airtight container for up to 5 days.
- Add white chocolate chips for extra sweetness.
- Dough can be frozen and baked later as needed.
Pro Tips
- Use room-temperature butter for smoother mixing.
- Don’t overmix the dough after adding flour.
- Chill the dough for 20–30 minutes for thicker cookies.
- Use gel food coloring for a stronger red color.
- Gently fold in Oreo pieces to keep them chunky.
- Slightly underbake for softer centers.
- Let cookies cool on the tray for a few minutes before moving.
- Use a cookie scoop for even-sized cookies.
FAQs
Can I make these cookies without food coloring?
Yes, the flavor will be the same, just without the red color.
Do I need to chill the dough?
Chilling helps prevent spreading but isn’t strictly required.
Can I use cream-filled Oreos?
Yes, regular Oreos work perfectly in this recipe.
How do I know when they’re done?
The edges should be set while the centers look slightly soft.
Can I freeze the cookie dough?
Yes, freeze dough balls for up to 2 months.