Easy Crusty Dutch Oven Bread: No-Knead, Bakery-Style at Home
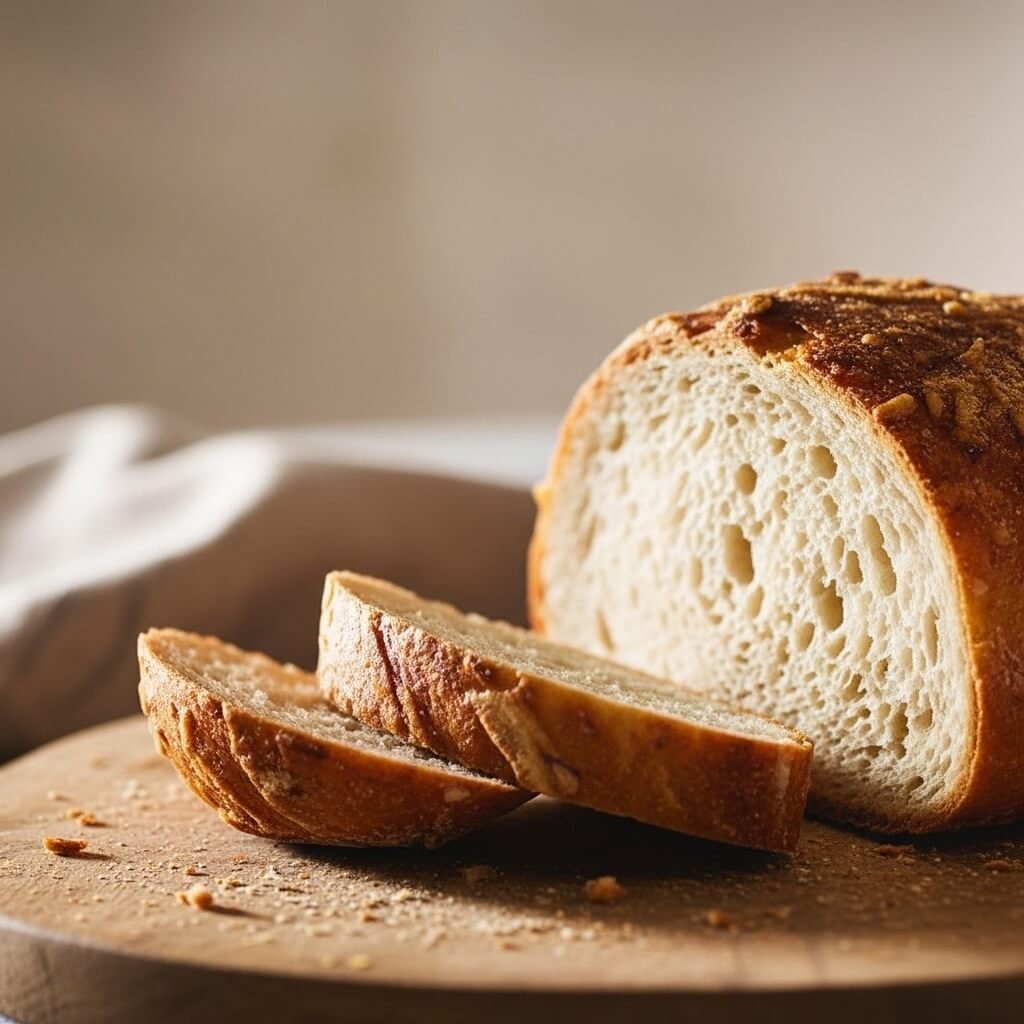
There’s something incredibly satisfying about baking Dutch Oven Bread at home. I love how just a few basic pantry ingredients turn into a loaf with a crackly crust and soft, chewy center.
This is one of those recipes I come back to again and again—especially on quiet weekends or when I want fresh bread without a lot of effort. My favorite part is how hands-off it is. No fancy equipment, no complicated steps, just simple mixing and time doing most of the work.
I usually make this when I’m planning soups, stews, or cozy dinners, but it’s just as good toasted with butter the next morning. If you’ve ever felt intimidated by homemade bread, this is the perfect place to start.
Why You’ll Love This Recipe
- So easy: No kneading required—just mix, rest, and bake.
- Amazing flavor: The long rise creates deep, bakery-style taste.
- Simple ingredients: You only need flour, yeast, salt, and water.
- Super versatile: Enjoy it plain or customize with herbs, cheese, or seeds.
- Perfect for any occasion: Great for weeknight dinners, holidays, or casual weekends.

Classic No-Knead Dutch Oven Bread
Ingredients
Method
- In a large bowl, mix flour, salt, and yeast.
- Pour in warm water and stir until a shaggy dough forms.
- Cover and let rise at room temperature for 12–18 hours, until doubled and bubbly.
- Turn dough onto a floured surface and gently shape into a round loaf.
- Place on parchment paper and let rest 30 minutes.
- Meanwhile, preheat oven to 450°F (230°C) with your Dutch oven inside.
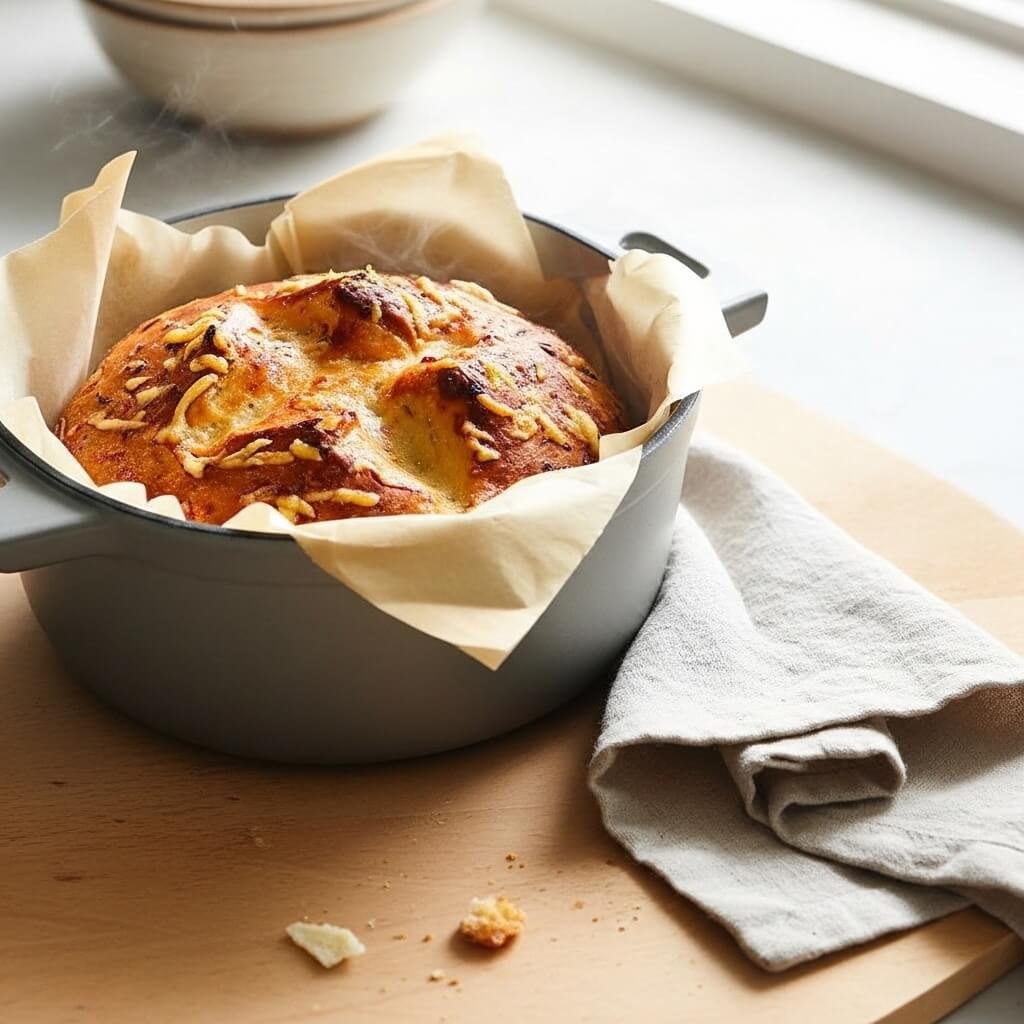
- Carefully transfer dough (with parchment) into hot Dutch oven. Cover with lid.
- Bake for 30 minutes covered, then remove lid and bake another 10–15 minutes until deeply golden.
- Remove bread and cool on a rack before slicing.
Notes
- Store leftovers wrapped at room temperature for up to 2 days or freeze sliced bread for longer storage.
- For extra flavor, add rosemary, thyme, or roasted garlic to the dough.
- Re-crisp day-old bread by warming it in a 350°F oven for 5–7 minutes.
Pro Tips
- Use a kitchen scale if possible for more accurate flour measurements.
- Let the dough rise in a warm, draft-free spot for best results.
- Don’t skip preheating the Dutch oven—it’s key for that crispy crust.
- A sharp knife or razor makes cleaner scoring on top.
- If your crust browns too fast, loosely tent with foil near the end.
- Cool the bread at least 30 minutes before slicing to avoid a gummy center.
- Add herbs or garlic directly to the dough for easy flavor upgrades.
- Lightly flour your hands when shaping to prevent sticking.
FAQs
Do I really need a Dutch oven?
Yes—its trapped steam creates the crusty exterior. A heavy oven-safe pot with a lid also works.
Why is my bread dense?
Most often it needs more rising time or slightly less flour.
Can I use instant yeast instead of active dry?
Yes, use the same amount and skip blooming—it can go straight into the flour.
How do I know when it’s done baking?
The loaf should sound hollow when tapped and be deeply golden.
Can I make this dough ahead?
Absolutely. Let it rise in the fridge overnight for even better flavor.