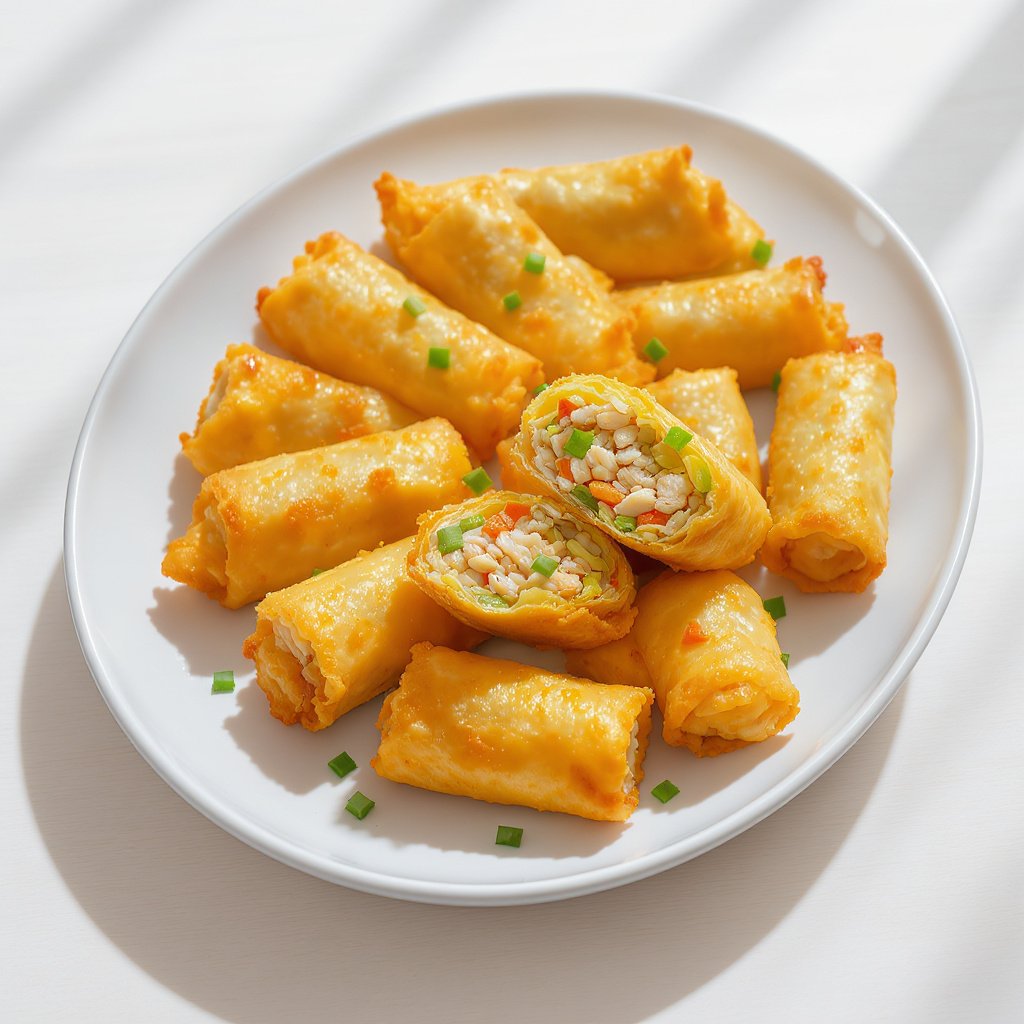
Chicken Spring Rolls: A Perfect Spring Delight
Chicken spring rolls are one of those recipes that instantly make any meal feel special. Crispy on the outside, juicy and flavorful on the inside, they strike the perfect balance between comfort food and crowd-pleasing appetizer.
Whether you’re planning a weekend snack, a party platter, or a quick homemade starter for dinner, chicken spring rolls never disappoint.
What makes this chicken spring rolls recipe especially appealing is how approachable it is. You don’t need fancy tools or hard-to-find ingredients.
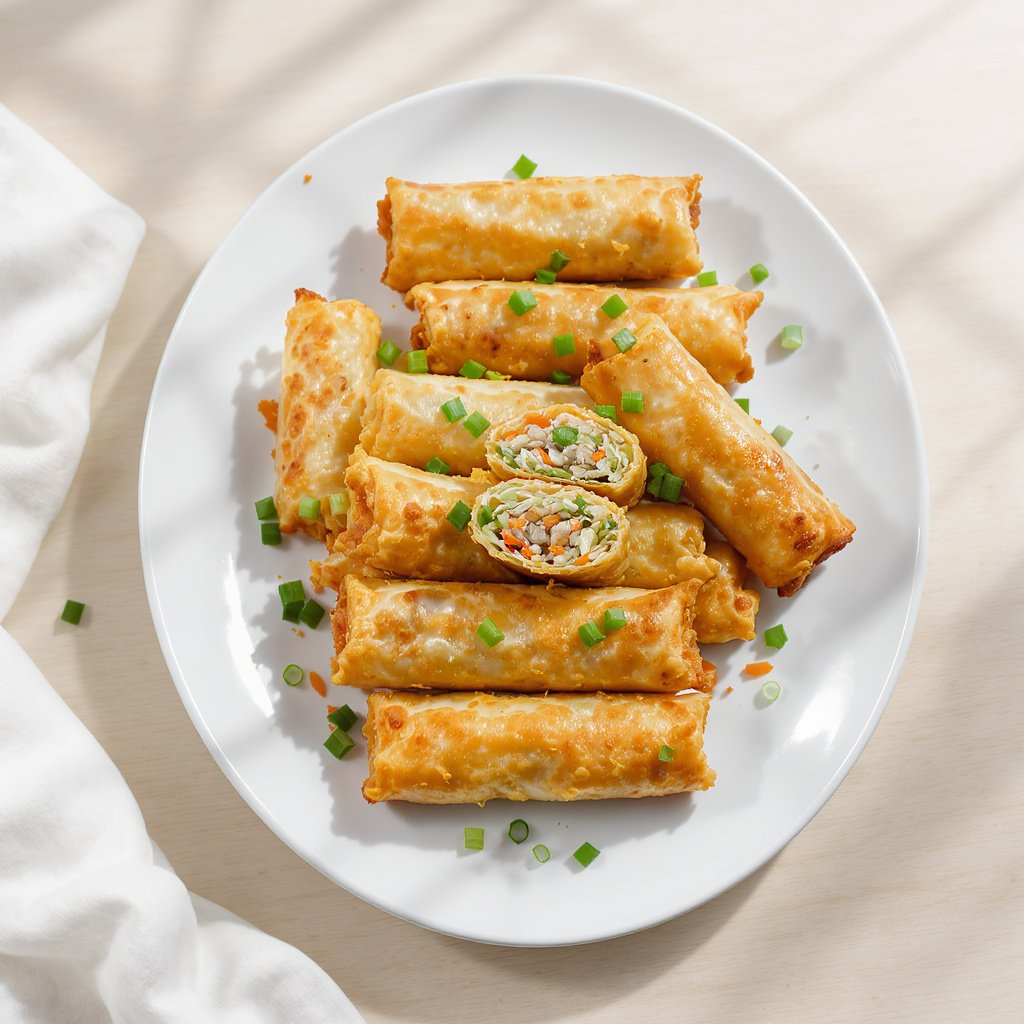
With a simple filling, basic wrappers, and a few smart techniques, you can make restaurant-style spring rolls right in your own kitchen. These rolls fry up golden and crunchy, with a savory chicken filling that’s well-seasoned but not overpowering.
This guide walks you through everything step by step, from choosing the right ingredients to rolling, frying, storing, and reheating. By the end, you’ll have a foolproof method you can use again and again for parties, holidays, and everyday cravings.
Why You’ll Love This Recipe
- Crispy, golden exterior with a juicy, well-seasoned chicken filling
- Beginner-friendly steps that are easy to follow
- Perfect for parties, family dinners, and weekend snacks
- Customizable filling to match your taste or dietary needs
- Meal prep friendly and freezer-ready
- Tastes just as good as takeout, if not better
Ingredients
- Chicken mince
- Spring roll wrappers
- Cabbage
- Carrot
- Spring onions
- Garlic
- Soy sauce
- Black pepper
- Salt
- Cornstarch
- All-purpose flour
- Water
- Oil for frying
Ingredients Guide (Ingredient Breakdown)
Chicken mince
Chicken mince is the heart of chicken spring rolls. It cooks quickly and absorbs flavors well. You can also finely chop boneless chicken breast if mince is unavailable, but mince gives a juicier, more even filling.
Spring roll wrappers
These thin wrappers are designed to crisp beautifully when fried. Look for square spring roll pastry, not egg roll wrappers. Keep them covered with a damp cloth while working to prevent drying out.
Cabbage
Cabbage adds crunch and bulk to the filling. Green cabbage works best, finely shredded. It balances the richness of the chicken and helps keep the filling light.
Carrot
Carrot adds mild sweetness and color. Grate it finely so it cooks evenly and blends smoothly into the filling.
Spring onions
Spring onions bring freshness and a gentle onion flavor without overpowering the filling. Both the white and green parts can be used.
Garlic
Garlic adds depth and savory aroma. Fresh minced garlic works best, but garlic paste is a suitable substitute.
Soy sauce
Soy sauce seasons the filling and adds umami. Use light soy sauce for balance. Avoid dark soy, as it can overpower the flavor.
Black pepper and salt
These simple seasonings enhance the chicken without masking other flavors. Adjust to taste.
Cornstarch
Cornstarch helps bind the filling and keeps it juicy during frying.
All-purpose flour and water
Mixed together, these create a simple sealing paste to close the spring rolls securely.
Oil for frying
Use a neutral oil with a high smoke point, such as vegetable or canola oil, for even frying.
Step-by-Step Instructions
1- Prepare the vegetables
Finely shred the cabbage and grate the carrot. Chop the spring onions and mince the garlic. Keep everything uniform for even cooking.
2- Make the filling
In a bowl, combine chicken mince, cabbage, carrot, spring onions, garlic, soy sauce, salt, black pepper, and cornstarch. Mix well until evenly combined.
3- Prepare the sealing paste
In a small bowl, mix all-purpose flour with water to form a smooth paste. Set aside.
4- Set up your rolling station
Lay one spring roll wrapper on a clean surface, shaped like a diamond. Keep remaining wrappers covered with a damp cloth.
5- Fill the wrapper
Place 2–3 tablespoons of filling near the bottom corner. Shape it into a short log.
6- Roll the spring roll
Fold the bottom corner over the filling, then fold in both sides tightly. Roll upward and seal the top corner with the flour paste.
7- Repeat
Continue filling and rolling until all filling is used. Keep rolled spring rolls covered to prevent drying.
8- Heat the oil
Heat oil in a deep pan over medium heat. The oil should be hot but not smoking.
9- Fry the spring rolls
Fry in small batches, turning occasionally, until golden brown and crisp. This usually takes 4–5 minutes.
10- Drain and rest
Remove spring rolls and place on a wire rack or paper towels to drain excess oil.
Variations & Customizations
Spicy chicken spring rolls
Add chili garlic sauce or finely chopped green chilies to the filling for extra heat.
Vegetable-loaded version
Increase cabbage and carrot, and add bell peppers or mushrooms for more texture.
Baked chicken spring rolls
Brush rolls lightly with oil and bake until crisp for a lighter option.
Air fryer chicken spring rolls
Air fry at high heat, turning once, for a crunchy finish with less oil.
Gluten-free adaptation
Use gluten-free spring roll wrappers and gluten-free soy sauce.
Asian-inspired flavor upgrade
Add sesame oil or a splash of oyster sauce for deeper umami notes.
Serving Guide (Detailed)
Party appetizer
Serve hot and crispy on a platter with dipping sauces like sweet chili or garlic soy sauce. Ideal for gatherings and celebrations.
Family dinner starter
Pair with a light soup or salad for a balanced meal. These work well before noodle or rice-based mains.
Game night snack
Cut spring rolls in half and serve with multiple dips. Easy to grab and perfect for sharing.
Meal prep lunches
Pack cooked spring rolls with fresh slaw and dipping sauce for a satisfying midday meal.
Holiday spreads
Include chicken spring rolls alongside other finger foods for festive occasions and holidays.
Storage & Reheating Guide
Room temperature
Cooked spring rolls can sit at room temperature for up to 2 hours. After that, they should be refrigerated.
Refrigerator
Store cooked spring rolls in an airtight container for up to 3 days. Let them cool fully before storing.
Freezer
Uncooked spring rolls freeze very well. Freeze in a single layer, then transfer to a freezer-safe bag for up to 2 months.
Reheating
Reheat in an oven or air fryer to restore crispiness. Avoid microwaving, as it makes them soggy.
Shelf life tips
Always keep moisture away from stored spring rolls to maintain their crunch.
Common Mistakes to Avoid
Overfilling the wrappers
Too much filling makes rolling difficult and causes splitting during frying. Use moderate amounts.
Loose rolling
Roll tightly to prevent oil from entering and making the rolls greasy.
Oil not hot enough
Low oil temperature leads to oily, pale spring rolls. Test oil before frying.
Crowding the pan
Frying too many at once lowers oil temperature and affects crispiness.
Skipping draining time
Allow spring rolls to drain briefly so excess oil doesn’t soak in.
Expert Tips for Best Results
- Finely chop or shred all filling ingredients for even texture
- Chill the filling slightly before rolling for easier handling
- Fry in small batches for consistent golden color
- Use a wire rack instead of paper towels for maximum crispiness
- Taste-test the filling before rolling and adjust seasoning
FAQs
Can I make chicken spring rolls ahead of time?
Yes, you can assemble them ahead and refrigerate or freeze until ready to cook.
Are chicken spring rolls freezer friendly?
Uncooked spring rolls freeze very well and can be fried directly from frozen.
Can I bake instead of fry?
Yes, baking works, though the texture will be slightly less crisp than frying.
Why are my spring rolls oily?
Oil is likely not hot enough. Proper oil temperature is key.
Can I use leftover cooked chicken?
Yes, finely chop it and reduce cooking time slightly.
What dipping sauces go best?
Sweet chili, garlic soy sauce, and spicy mayo all pair well.
How do I keep spring rolls crispy longer?
Drain well after frying and avoid covering them while hot.
Final Thoughts / Conclusion
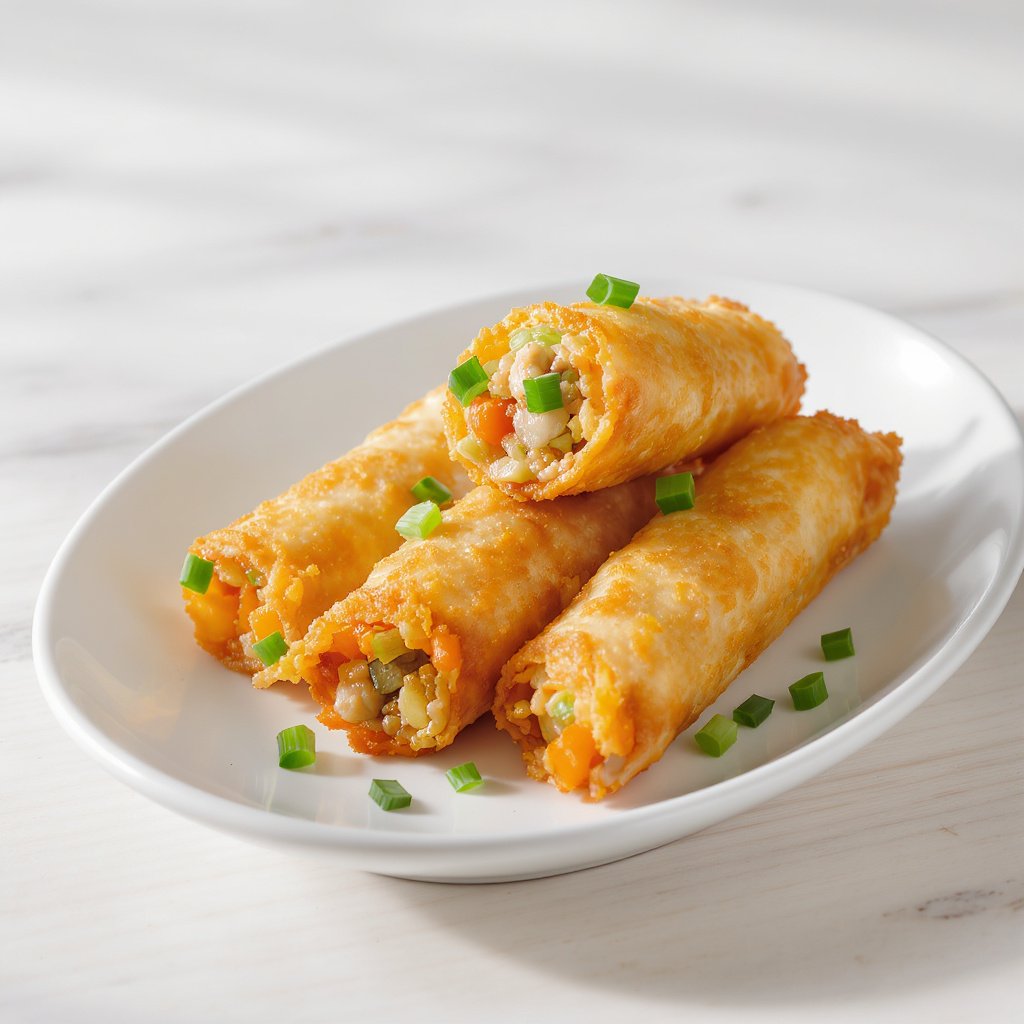
Chicken spring rolls are a timeless favorite for a reason. They’re crispy, flavorful, and incredibly versatile, making them perfect for everything from casual snacks to special occasions.
With the detailed steps and tips in this guide, you can confidently make spring rolls that look and taste restaurant-quality at home.
This recipe is easy to adapt, meal prep friendly, and ideal for parties, holidays, or busy weekdays. Try it once, and it will quickly become a repeat favorite in your kitchen. If you give it a go, save it for later, share it with friends, and feel free to leave feedback on how it turned out for you.
Chicken Spring Rolls
Ingredients
Method
- In a large bowl, combine chicken mince, cabbage, carrot, spring onions, garlic, soy sauce, salt, black pepper, and cornstarch. Mix well until evenly combined.
- Mix all-purpose flour with enough water to form a smooth paste. Set aside.
- Place a spring roll wrapper on a clean surface in a diamond shape. Add 2–3 tablespoons of filling near the bottom corner. Shape into a small log.
- Fold the bottom corner over the filling, fold in the sides, roll tightly upward, and seal the edge with flour paste.
- Heat oil over medium heat. Fry spring rolls in batches for 4–5 minutes, turning occasionally, until golden and crispy.
- Remove and place on a wire rack or paper towels to drain excess oil.
Notes
- Do not overfill the wrappers to avoid splitting during frying.
- Oil must be hot before frying to prevent greasy rolls.
- Uncooked spring rolls can be frozen for up to 2 months.
- Reheat in an oven or air fryer for best crispiness—avoid microwaving.